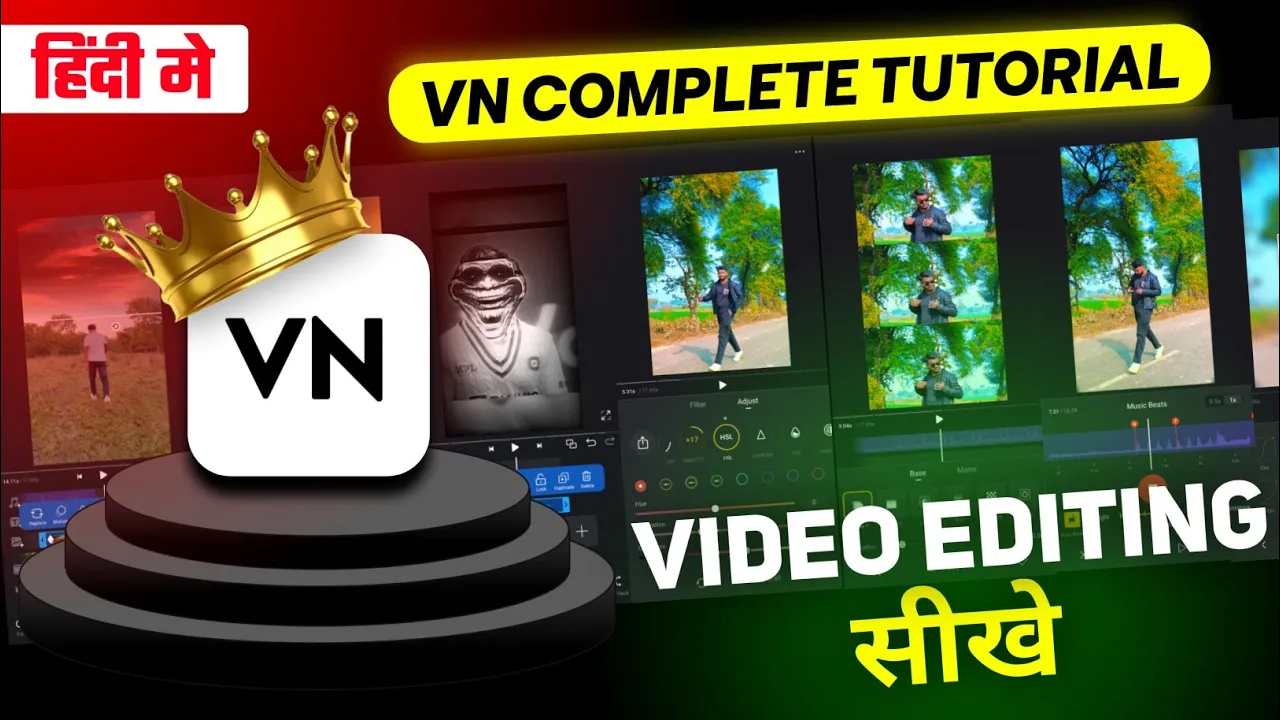
VN App Complete Video Editing Tutorial (Beginner to Advanced)
Hello guys, how are you? 👋 In today’s tutorial, I’m going to show you how you can edit videos in VN App—from basic cuts to advanced editing like transitions, effects, slow motion, and color grading. If you want to master video editing on your phone for free, this guide is for you. 🚀
What is VN App?
VN Video Editor is a completely free video editing application available on Android and iOS. It comes with professional-level features like filters, transitions, effects, music import, and even advanced tools like keyframes and color grading—all without watermarks.
Step 1: Install and Open VN App
Go to the Google Play Store (or App Store for iPhone) and install the VN App. Once you open it, you’ll see a clean and simple interface that makes editing easy even for beginners.
Step 2: Create a New Project
- Tap the “+” button and select New Project.
- Choose the videos or photos you want to edit.
- All selected clips will appear on the timeline, ready for editing.
Step 3: Remove Background Noise
Most raw videos capture unwanted background sounds. To fix this:
- Select your video clip.
- Tap on the Mute option to remove background noise.
Step 4: Add Music and Sound Effects
Adding music makes your video more engaging. Here’s how:
- Click on Audio → Music.
- Select from your device’s library or import trending music.
- For viral reels, always use trending songs to increase your chances of going viral.
You can also add sound effects or record voiceovers directly inside the app.
Step 5: Add Text and Lyrics
VN allows you to add stylish text, perfect for captions or lyric videos:
- Tap Text → choose a design → type your text.
- Customize fonts, colors, stroke, shadows, and backgrounds.
- Add animations like fade, spin, or scale for extra style.
Tip: Duplicate text layers to sync lyrics with your music beats.
Step 6: Add Effects & Transitions
Want to make your video cinematic? Use VN’s FX and Transitions:
- FX: Rain, snow, flash, blur, light leaks.
- Transitions: Zoom, shake, fade, rotate, and many more.
Transitions work best between two clips for smooth storytelling.
Step 7: Use PIP (Picture-in-Picture)
PIP lets you add overlays like sky replacement, memes, or graphics:
- Click PIP → choose a video/photo overlay.
- Adjust using Mask tools (linear, circle, fade).
For example, you can replace a dull sky with a beautiful sunset clip. 🌅
Step 8: Trim, Cut, and Delete Unwanted Parts
To remove unnecessary footage:
- Play the video and pause at the point you want to cut.
- Tap Split → select unwanted part → Delete.
This helps keep your video short, engaging, and professional.
Step 9: Color Grading and Filters
VN App has both filters (one-click looks) and manual adjustments:
- Filters: Apply cinematic, vintage, or vibrant looks instantly.
- Adjust: Control brightness, contrast, saturation, exposure, temperature, vignette, and HSL (color by color).
Example: Increase brightness + reduce saturation slightly for a clean Instagram-style look.
Step 10: Export Your Video
Once your edit is complete:
- Tap Export.
- Choose resolution (up to 4K), frame rate, and quality.
- Save to your device or share directly to Instagram, TikTok, or YouTube.
Final Thoughts
That’s it! 🎬 You now know how to edit videos in VN App from start to finish. Whether you’re making Instagram Reels, TikTok videos, or YouTube content, VN is a powerful yet free app that can handle it all.
👉 Want more editing tools? Check out:
- CapCut – Another free editing app with AI tools.
- Adobe Premiere Rush – A pro alternative for quick edits.
- Canva Video Editor – Great for beginners with templates.
If you found this tutorial helpful, share it with your friends who want to learn mobile video editing. 🚀
💬 Join our WhatsApp Channel for updates!
👉 Click here to join