How to Change Video Background in Capcut (CPK) Editor with One Click
Hey guys, welcome back to another tutorial! In today’s post, I’m going to show you how you can change the background of any normal video using the Capcut (CPK) Video Editor app. And the best part? You can do it in just one click, even if you don’t have a professional studio or setup.
Why Change Video Background?
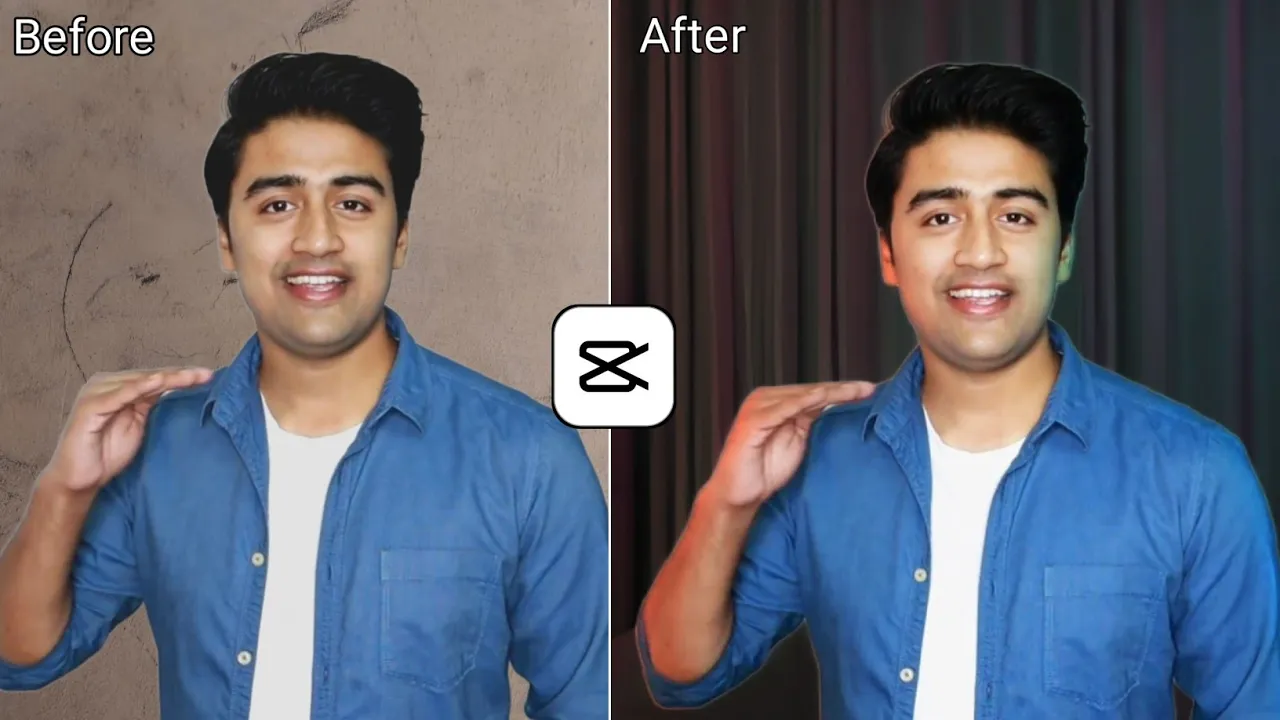
If you’re shooting videos from home but don’t have a clean or aesthetic background, this trick will help. By changing the background, you can make your videos look more professional, cinematic, or even fun with creative backdrops.
Step 1: Install CPK Video Editor
First, you need to install the Capcut (CPK) Video Editor. If it doesn’t show up in your region, you may need a VPN. Simply search for any free VPN on the Google Play Store (for example Proxy VPN) and connect to a server.
Step 2: Start a New Project
Once connected to a VPN, open the CPK app and tap on New Project. From here, you can choose a background for your video. If you don’t have one, you can download free backgrounds from Pinterest or Google Images.
Step 3: Add Your Background
Select your desired background and tap Add. You can crop or adjust the ratio according to your video requirements (for YouTube, use 16:9).
Step 4: Import Your Video
Click on the Overlay option and add your video. Adjust the length to match your chosen background. Zoom in using two fingers until your video fits the screen properly.
Step 5: Remove the Original Background
Tap on your video and scroll to find the Remove BG option. Select Auto Removal and the background will instantly be replaced with your selected one.
Step 6: Add Extra Effects
- Stroke Effect: Add an outline to your video for a creative look.
- Brightness & Saturation: Adjust your video’s lighting and colors for better quality.
- Cloth Color Change: Use the HSL option to change clothing colors inside your video.
- Blurred Background: Apply a bokeh filter to make your video look cinematic.
- 4K & 8K Filters: Upgrade your video quality using these options.
- Lighting Effects: Use the Relight feature to add neon or color lighting effects.
Step 7: Export Your Final Video
After editing, simply tap on the Export button at the top and your video will be saved in high quality.
Pro Tips
- Always use high-resolution backgrounds for a realistic effect.
- Experiment with filters to match your video’s theme.
- Check out Canva or Unsplash for free backgrounds and design resources.
Final Words
So guys, that’s how you can easily change the background of your videos using the Capcut (CPK) video editor app. It’s simple, fast, and perfect for content creators who want professional-looking videos without expensive setups.
If you found this tutorial helpful, don’t forget to like and share it. And if you’re new here, subscribe for more editing tricks and tutorials!
💬 Join our WhatsApp Channel for updates!
👉 Click here to join