How to Install GCam with Config File on Android and Click DSLR-Like Photos
Hello guys! How are you all doing? 👋 Today, I’m going to show you how to install GCam with a new config file on your Android device so you can click DSLR-like photos directly from your phone. The best part? The GCam I’m sharing works on almost every mobile phone model.
If you love mobile photography and want cinematic photos with perfect background blur, then read this post till the end because I’ll walk you through everything step by step. Let’s get started!
Step 1: Install GCam App
First, you’ll need to install the GCam application. I regularly share updates about different mobile photography apps and GCam versions on my Telegram channel and WhatsApp group. You can join either one to get the latest files.
Once you download the app, just install it like a normal application. After installing, open it and you’ll see a simple interface. Click OK when prompted.
Step 2: Add the Config File
To get the best results, you’ll need to add a config file inside GCam. This file contains special camera settings that improve colors, dynamic range, and background blur.
Here’s how you can do it:
- Open the GCam app and go to Settings → More Settings.
- Click on Save. This will create a new Config folder in your File Manager.
- Now open your File Manager and search for
AGC(or similar depending on the version). - Inside the folder, you’ll find a Config folder. That’s where you need to add the config file.
- Download the config file from the link in the description (or from my Telegram/WhatsApp channel).
- Move the config file to the
Configfolder you just created.
That’s it! 🎉 You’ve successfully added the config file to GCam.
Step 3: Load the Config in GCam
Now, go back to GCam and follow these steps:
- Open GCam and click on Load Config.
- Select the config file you saved.
- Click Done.
You’ll now see multiple config options like Portrait, Night Mode, Cinematic, and more. Select whichever one you like and start clicking photos.
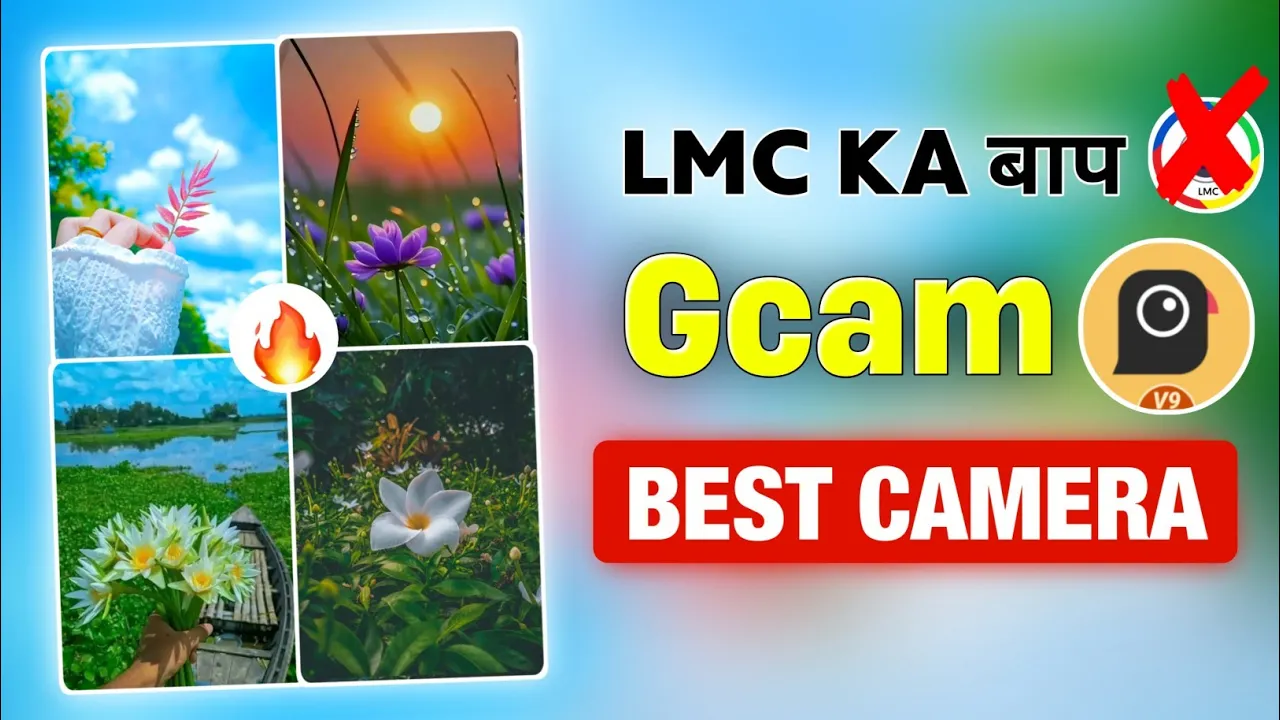
Photo & Video Results
Here’s what makes this setup amazing:
- Background Blur: The config file gives a DSLR-like bokeh effect, perfect for portraits.
- Color Tuning: Natural and vibrant colors make photos look cinematic.
- Sharpness: Objects stay perfectly highlighted, especially in outdoor shots.
- Video Recording: Yes, you can even record videos with this setup.
Pro tip: When you click the photo, you might not notice changes immediately. But once the photo is saved, you’ll clearly see the difference—better colors, background blur, and improved quality.
Why Use GCam with Config?
Compared to stock camera apps, Google Camera (GCam) provides better HDR+, Night Sight, and portrait shots. Config files make it even better by unlocking hidden potential on different devices.
If you want DSLR-like photography without spending extra money, GCam with config files is the easiest solution.
Final Thoughts
So that’s how you can install GCam with a config file on Android and click DSLR-like photos. It’s simple: install → create config folder → add config file → load in GCam → start shooting amazing photos.
I hope you found this guide helpful. Try out different configs to see which one gives the best results on your phone. Don’t forget to share your experience in the comments!
For more guides on mobile photography, check out:
That’s all for today! See you in the next tutorial. Until then—stay happy and keep spreading smiles. 😊
💬 Join our WhatsApp Channel for updates!
👉 Click here to join