How to Edit Reels Like a Pro in CapCut (Complete Beginner to Advanced Guide)
Hey guys, welcome back to another tutorial! 👋 Today I’m going to show you step by step how to edit your Reels videos using the CapCut video editor. This tutorial is perfect for beginners as well as advanced editors who want to take their Instagram Reels or short videos to the next level. So, make sure to read till the end, because I’ll explain everything from trimming and slow-motion effects to color grading, background blur, transitions, and exporting in 4K quality.
Step 1: Install CapCut and Connect to VPN
First, you need a working CapCut (CPK) application. If you don’t already have it, simply search on Google or app stores and install it. To use CapCut fully, you may also need to connect via a VPN. Just head over to the Google Play Store or the App Store, search for VPN apps, and install one. In this tutorial, I used Proxy VPN, but you can use any server—it doesn’t really matter.
Once your VPN is connected, go back and open the CapCut application. Tap on New Project, select your raw footage, and add it to the timeline in HD. Now your video is ready to be edited.
Step 2: Remove the CapCut Watermark
At the end of your video, you’ll notice a CapCut watermark. Simply tap on it and delete it before you start editing. Clean and professional videos always perform better on Instagram Reels or TikTok.
Step 3: Trimming Your Video
Play your raw footage and decide which part you want to keep. Tap on the video, use the Split option, and delete any unwanted extra parts. This will make your video sharp and to the point, which is important for social media.
Step 4: Adding Smooth Slow Motion
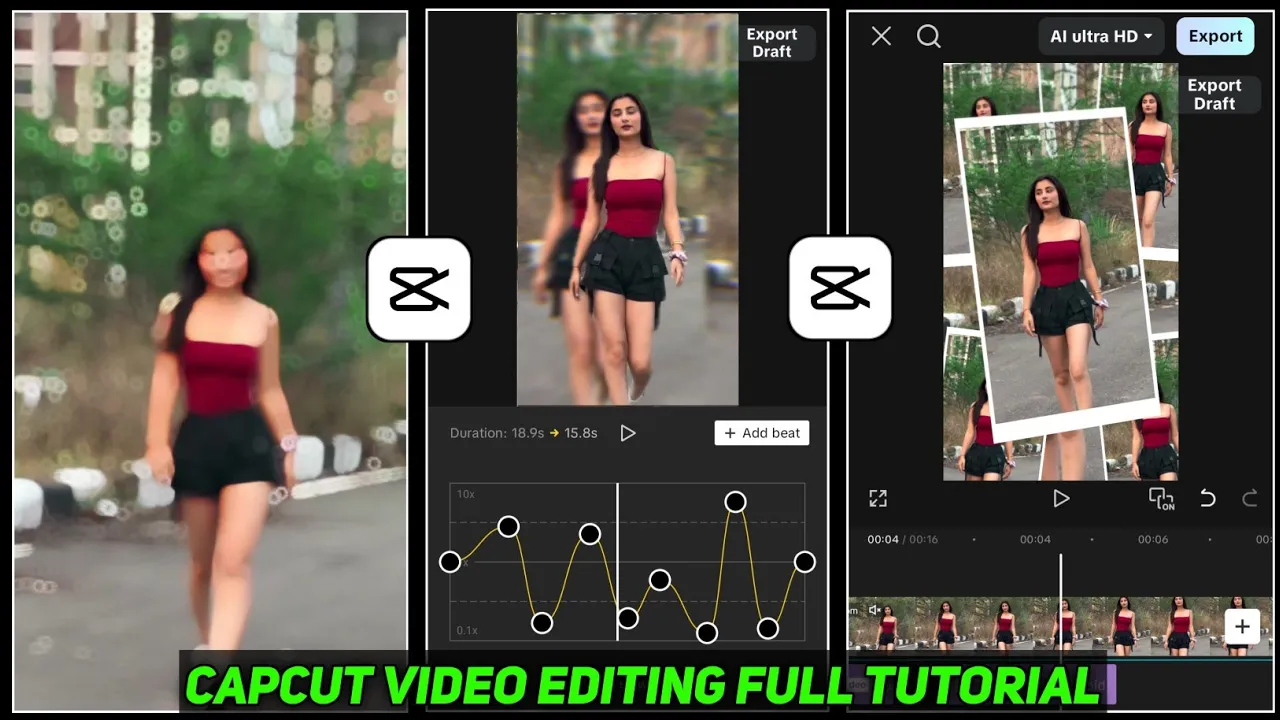
To create cinematic effects, slow motion is the key. Select your video, scroll to find the Speed option, then tap on Curve. From here, choose Custom. You’ll see multiple beat points that you can drag up (for speed-up) or down (for slow motion). This allows you to create smooth slow-motion or fast-motion transitions.
For best results, after adjusting, apply the Smooth Slow Motion option and select Better Quality. This will make your video transitions look buttery smooth.
Step 5: Color Grading
Color grading makes your video visually stunning. Tap on your video and scroll to find the Adjust tools. Here you can edit:
- Brightness – Adjust lighting
- Brilliance – Balance highlights and shadows
- Saturation – Enhance colors
- Sharpness – Make details clearer
- Clarity – Improve overall quality
You can also use the HSL tool to target specific colors. For example, change your shirt color or enhance the green in your background. This is an advanced way of giving your video a professional touch. Tools like Adobe Premiere Pro also offer HSL adjustments, but CapCut makes it free and easy on mobile.
Step 6: Background Blur
If you want that DSLR-like look, you can blur your background. Tap on Filters, then select Polish → Bokeh. Adjust the blur amount until you’re satisfied. This instantly makes your video stand out, especially if you’re shooting with a regular smartphone camera.
Step 7: Adding Effects and Transitions
CapCut offers tons of trending video effects used by Instagram and TikTok creators. Tap on Video Effects and explore categories like Intro, Outro, Neon, Glow, or Body Effects.
For example:
- Add a Halo Blur at the start
- Apply a Neon Flow effect in the middle
- Use Body Effects for trending Instagram Reels vibes
To apply transitions, split your video, tap the gap between clips, and choose from dozens of options. This will give your edits a polished and dynamic look.
Step 8: Adding Music
No Reel is complete without music. Tap on Audio → Sounds → Device and select any track from your phone. Sync the beats with your edits for maximum engagement. If the music is longer than your video, simply split and delete the extra part at the end.
For copyright-free tracks, check out Epidemic Sound or Pixabay Music.
Step 9: Export in 4K Ultra HD
Finally, it’s time to export your masterpiece. Tap the Ultra HD Export option. Set resolution, frame rate, and bitrate to maximum for the best quality. Your video will now export in 4K, ready to upload to Instagram Reels, TikTok, or YouTube Shorts.
Final Thoughts
That’s it guys! 🎉 Now you know exactly how to edit Instagram Reels like a pro using CapCut. From trimming and slow motion to color grading, background blur, effects, and 4K export—this tutorial covered everything. Start practicing, experiment with different styles, and you’ll see your Reels engagement skyrocket.
If you found this guide helpful, don’t forget to share it with your friends who are into video editing. And for more editing tricks, join our Telegram channel (link in video description).
Happy editing, and see you in the next tutorial! 🚀
💬 Join our WhatsApp Channel for updates!
👉 Click here to join