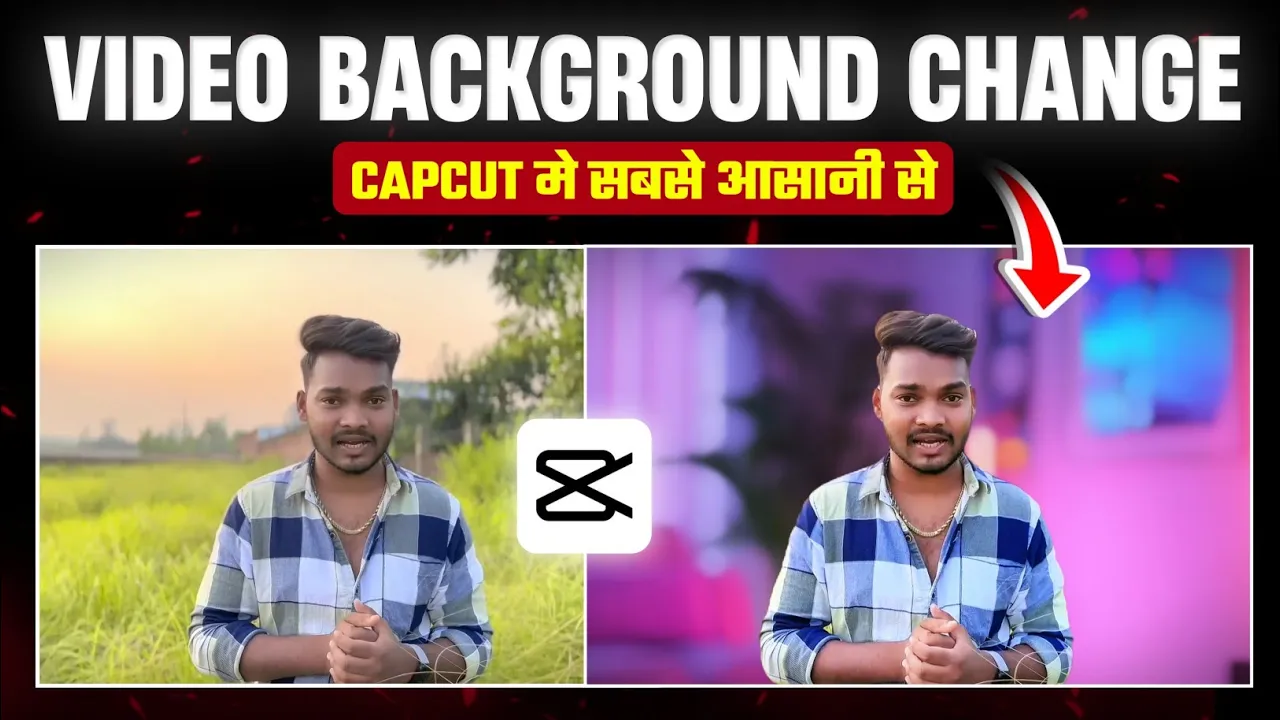
How to Change Video Background in CapCut Easily
Hello guys! How are you all? 👋 In today’s tutorial, I’ll show you how you can change the background of your videos in CapCut just like many professional creators do. For example, creators like Dhruv Rathee and many others use background replacement to give their videos a professional studio or unique look.
If you also want to give your videos a professional touch by changing the background, then stick with me till the end. Let’s get started!
Step 1: Install CapCut and VPN
First, you need the CapCut app (also called CPK in some regions). If you don’t have it yet, search for it and install it. Sometimes, depending on your location, you might need a VPN to access and use CapCut properly.
Simply install any free VPN from the Google Play Store or App Store, open it, and connect before starting CapCut.
Step 2: Create a New Project
Once your VPN is connected, open CapCut. You’ll see the option to create a New Project. Tap on it. Now, choose what you want as your background:
- 📷 An image (studio background, abstract design, etc.)
- 🎥 A video (dynamic moving background)
Select the background you like and add it to the project. Make sure to choose an appropriate aspect ratio like 16:9 for YouTube or 9:16 for Instagram Reels.
Step 3: Add Your Video as an Overlay
Now, tap on Overlay → Add Overlay → Select your video. Your video will be added on top of the background.
Step 4: Remove the Old Background
To replace your video’s background, scroll down and tap on the option Remove BG. Select Auto Removal and wait until it reaches 100%. Once completed, your old background will disappear and your selected background will be applied.
Step 5: Match the Background with Your Video
Sometimes, the new background doesn’t naturally match your video. To fix this:
- Use Color Grading to adjust brightness, contrast, and sharpness.
- Increase or decrease saturation to make colors match better.
- Adjust temperature (warm/cool tones) for a natural look.
- Blur the background slightly using Video Effects → Lens → Spot Blur. This makes your video look more professional and focused.
Step 6: Final Touches
After setting the background, you can add effects like vignette, glow, or additional filters to give your video a cinematic style. A little adjustment goes a long way in making your video look polished.
Step 7: Export Your Video
Once satisfied, click on Export. Set the quality to maximum for best results and save your video in high resolution on your device. 🚀
Why Change Video Background?
Changing your video background can make your content stand out. Whether you want a studio look, a minimal setup, or something fun for social media, background replacement makes it possible without expensive equipment.
Extra Tips
- Try Remove.bg for instant photo background removal if you also work with images.
- For more video editing tricks, check out Filmora Video Editor or Adobe Premiere Pro.
Final Thoughts
So guys, this was a complete step-by-step guide on how to change video background in CapCut. It’s simple, effective, and gives your videos a professional edge without expensive gear.
I hope you found this helpful. Try it out and let me know which background style you like the most! Until next time, stay creative and keep spreading positivity. ✨
💬 Join our WhatsApp Channel for updates!
👉 Click here to join