How to Convert Low-Quality Videos into 4K High Quality for Free
Hello friends! In today’s tutorial, I’ll show you how you can easily convert any low-quality video into 4K high resolution — completely free and with just one click. This method works online as well as with a powerful mobile app, and you don’t even need to sign up to get started. Let’s dive right in!
Step 1: Enhance Video Quality Online with VMAC
The first method is through an online tool called VMAC. This tool allows you to enhance your video quality directly from your browser. Here’s how you can do it:
- Open Google Chrome on your mobile or PC.
- In the search bar, type VMAC and open the first result.
- Click on Get Started and you’ll see the “Video Quality Enhancer” option.
- Tap on the Upload button and select the low-quality video from your gallery.
- Wait for a few seconds while the tool processes your video.
- Once done, click the Download button to save your enhanced video.
The best part? You don’t need to sign in or create an account. However, there’s a small limitation — VMAC only lets you enhance up to 5 seconds of video at a time. So, you may need to split longer videos and later join them together. Still, it’s watermark-free and works surprisingly well.
👉 Try similar free online tools like Cutout.Pro Video Enhancer or DeepAI Video Super Resolution.
Step 2: Use the Winkit App for Full-Length Videos
While online tools are helpful, they come with restrictions. That’s why I highly recommend using the Winkit App, available on the Play Store. It’s one of the most powerful free apps for enhancing video quality. Here’s how it works:
- Download and install Winkit App from Google Play Store.
- Open the app and select AI Restoration.
- Choose your video (longer videos are supported compared to online tools).
- Enable options like AI Enhancement, Super Resolution, and AI Color.
- Tap on Process and watch a short ad (this is how the app stays free).
- Your video will be processed into super-clear 4K quality.
The results are truly impressive — the app removes blur, enhances sharpness, and improves color automatically. You’ll notice a dramatic difference between the before and after versions of your video.
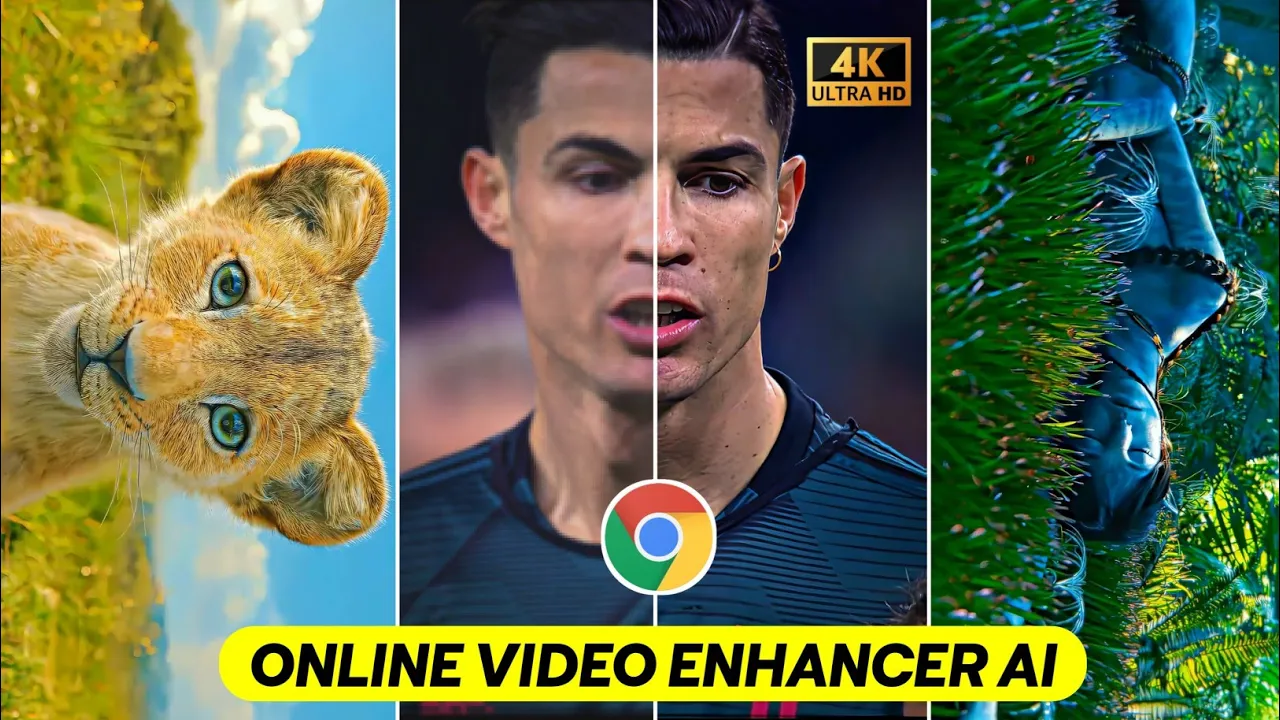
Before and After Comparison
When testing, the before video looked blurry, low in detail, and dull in color. After processing with Winkit, the after video was sharp, crystal clear, and vibrant — just like a professional 4K video.
Why Use Winkit Instead of Online Tools?
- Processes full-length videos (not just 5 seconds).
- No watermarks.
- Completely free (just watch a short ad).
- AI-powered enhancement for both resolution and colors.
Other apps claim to offer video enhancement, but in my experience, Winkit is by far the most effective free option.
Final Thoughts
If you’ve been struggling with low-quality, blurry videos, these methods can be a game-changer. For short clips, online tools like Cutout.Pro are great. But for longer videos and professional results, the Winkit App is the best free solution to convert your videos into 4K high quality.
That’s it for today’s guide. I’ll see you in the next tutorial. Until then, stay happy and keep creating amazing content!
💬 Join our WhatsApp Channel for updates!
👉 Click here to join